

Posted by Mark Hawley Owner Metal-tech 4x4
on June 27, 2024
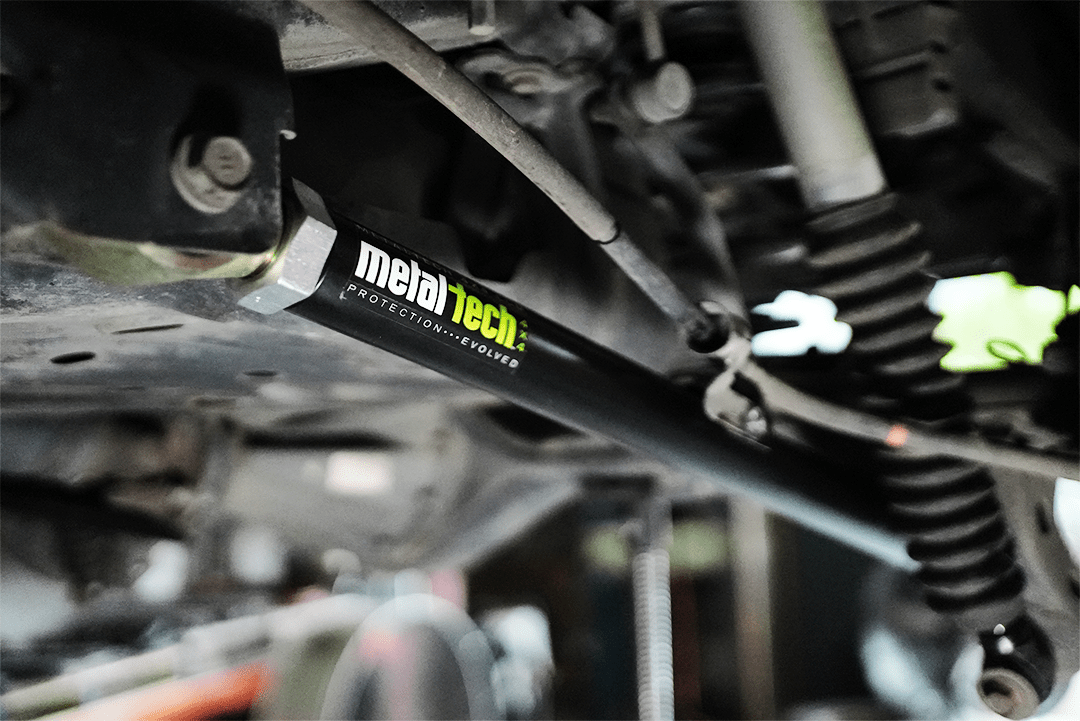
How to maintain your MT4x4 lower and upper links so they give you a lifetime of performance.
Like any other high-performance part, you need to maintain them. Lower and upper links from MT4x4 are high-performance parts designed to greatly improve your rear suspension's articulation. At the same time, the lower links aid in durability for taking hard hits and not bending like OEM links will on the trail. They will also assist in gliding over obstacles as the underside of the link back to the rear axle is uninterrupted due to Metal-tech 4x4's original "Offset" lower link design. They are link rock sliders! However, just like any other performance over the basic part, they require maintenance. The frequency of maintenance greatly depends on the environment they are used in. High salt, sand, silt, water, etc. will speed up the need for a PM or preventive maintenance cycle. For example, most desert race teams completely replace joints and bushings after a race. Their PM cycle is right after a race. But this might be 3 or 4 yrs before a full-over hall is needed for us. This is where basic PM comes in. Do the PM more often if you use your rig often, plus in salty, wet, silt, and sand environments or any combo. Maintenance to do on links: The time frame for the following maintenance will be affected by the environment in which you use the links.
- Keep your nuts tight. #1 and KING of ALL Maintenance = KEEP YOUR NUTS TIGHT! The jam nuts have to be independently tight against the link body at all times. If the jam nut is independently tight, you can back it off, and it freely moves on its own on the flex joint threads, then tightened up against the link body. If you can NOT back off the jam nut, it is frozen to the flex joint and NOT independently tight. Fix this immediately as over time the flex joint can rotate and unthread its self taking the jam nut with it. The joint will then pull the threads out of the link body, resulting in full failure!
- #2. See #1! Check those nuts. Do it two times per year, or every other oil change is recommended. Remember, when you check them, first back it off a turn; this verifies the jam nut is independent, then tighten it down.
- Grease your flex joint and bushings. We designed the grease zerk to be on top of the offset bushing shell to protect it. However, it is hard to get to grease it; this is intentional. We want you to pull the lower link bolt and drop the back of the links down one at a time to grease them. This allows you to clean road dirt, sand, etc., out of the bushings and assess their condition as you grease them. Dropping the back of the link down one at a time is easy and quick to do in a driveway.
- Replace your bushings: Over time, the bushings will wear and eventually need to be replaced. They are easy to replace one side at a time. You only need to drop the link at the axle side. We stock the bushing kits.
- Rebuild your Flex Joints. Over time, flex joints will need the bushings replaced. They are completely rebuildable, and the kits are not costly. However, some will choose to replace the flex joints with all-new ones. Either way works, but eventually, they will need to be serviced with new inner flex joint bushings.
- Remove your Flex Joints completely: Planning a link overhaul day? Have this include unthreading your flex joints and reinstalling them with fresh lithium-based grease or anti-seize on the threads going into the body of the links. This will aid when you wish to replace the flex joints or remove them to rebuild them sometime in the future. If the flex joints are left in one place for an extended time (usually years), they can, through corrosion, become one with the link body and become very difficult to remove.